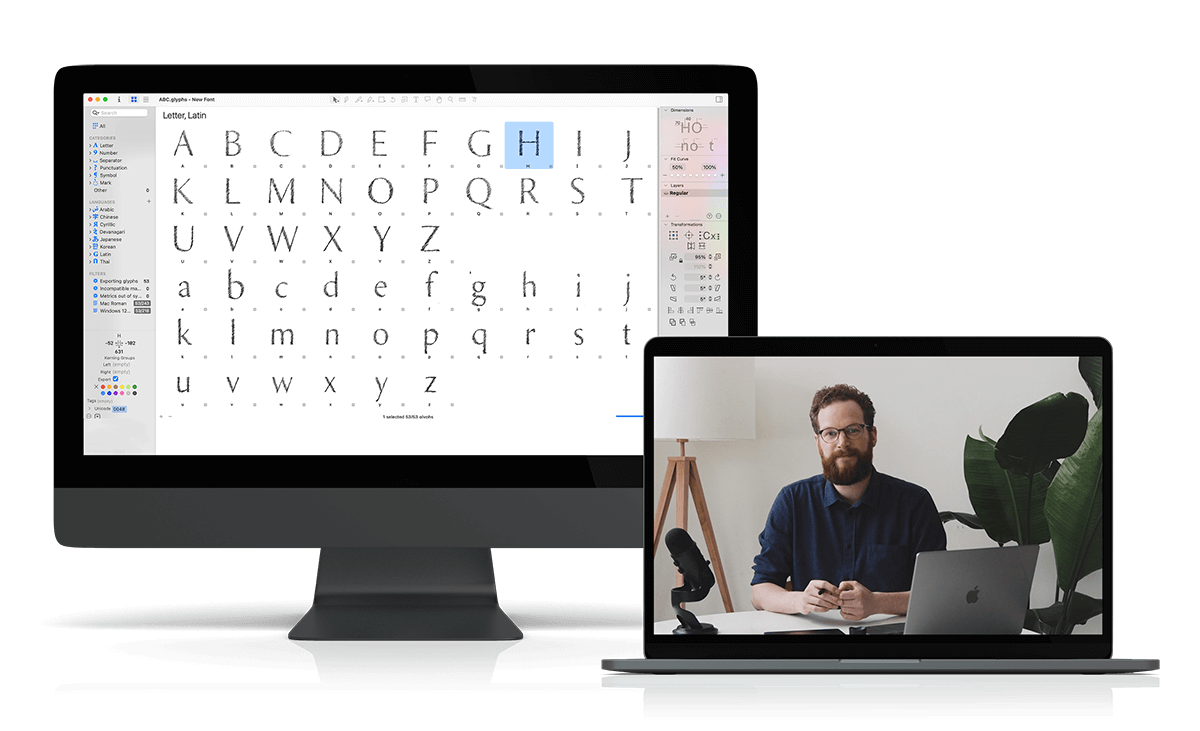
ONLINE VIDEO COURSELearn to make your own fonts, from start to finish
In this online video course that you can take at your own pace, you’ll be given a complete roadmap with all the tools, tips, and tricks you’ll need to create your own multiple weight typefaces.


65+ Step-by-step high quality videos
At your own pace, in your own time
Helpful guidebooks
Help along the way

Enrollment is currently closed
65+ on-demand videos


10 Guidebooks

English

English / Spanish subtitles
Trailer

Easy to follow modules
No ‘Fuzz and Fluff’! Only practical knowledge bombs that will get you to the next phase
At your own pace, in your own time
Start whenever you want, learn at your own pace, in your own time, anywhere in the world
Is this you?
You’ve been wanting to make fonts for a while. But you find font making software a bit intimidating, or
You’ve tried to draw letters in Adobe Illustrator. But you find it hard to draw smooth curves and how to make your letters feel consistent, or
You’ve made a font before. But don’t feel proud to show it to others, or want to make another one but this time better?
We’ll start off simple with the construction of letterforms from primitive shapes and work our way up to drawing with the pen tool and having full control over our handles and create super smooth curves. After working on the upper- and lowercase of a sans serif font we will add serifs, accents, punctuation, and other special characters. After completing this course you’ll feel comfortable to create your own font with proper spacing and kerning which you can use in your favorite design software.

I’m sure it will feel great when you could:
Draw multiple weight fonts confidently, unleashing your creativity to bring any font idea to life.
Feel a sense of pride in your fonts, ready to showcase and share them with the world.
What’s
inside
The breakdown of this course
-
The course is divided into different modules and guidebooks. We’ll start of simple with an explanation of the Glyphs interface, followed by an introduction to the pen tool, and we’ll work our way to creating a font with serifs, accents, ligatures and other OpenType features. Along the way I’ll share with you all kinds of guidebooks so you can read along to perfect your letterforms, how to work with components, accents and program OpenType features.
If you are stuck with a technique, simply scroll back in time and start over. Still having trouble? Please watch the end of the videos where I’ll explain all common mistakes and errors you might encounter in Glyphs.
0.0 — Welcome
0.1 — Introduction
0.2 — Hot Keys and shortcuts Guidebook
-
Before we get started with drawing our fonts, let’s take a look at our interface and see what all the panels do and how to set up your metrics. I’ll show you a quick and easy way to import a sketch to a website that helps you determine the heights of your upper and lowercase and ascenders and descenders.
1.1 — Interface Glyphs 3
1.2 — Adding characters
1.3 — Alignment zones
1.4 — Add images
1.5 — Setting your metrics
1.6 — Alignment zones Glyphs mini
-
If you’re familiar with Adobe Illustrator and the pen tool you’re in for a surprise as Glyphs works a bit different and often much more intuitive. It may take a bit of practice but I’m sure you’ll get the hang of it.
2.1 — Toolbar
2.2 — Pen tool and drawing basics
2.3 — Diagonals and curves
2.4 — Cleaning up shapes
2.5 — Drawing Correct Paths Guidebook
2.6 — Helpful Plugins Guidebook
-
Components can be used in various ways for shapes that are repeating in your font. They are super helpful if you want to add serifs to your letterforms, change the appearance of a line or if you want to change the shape of a repeating shape like the period.
3.1 — Corner Components
3.2 — Rounded Components
3.3 — Ink Traps
3.4 — Other Components
3.5 — Segment Components
3.6 — Cap Components
3.7 — Components Guidebook
-
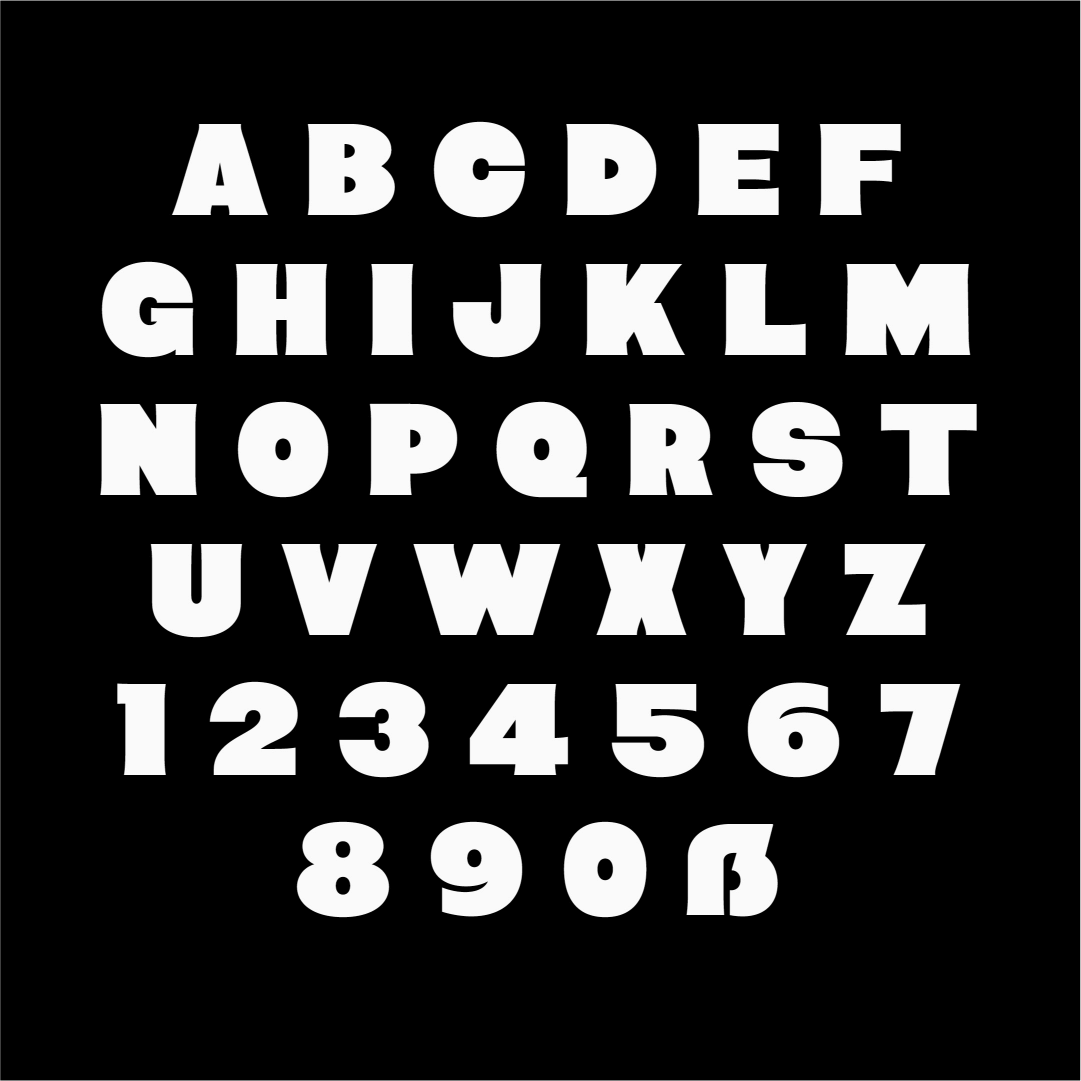
Let’s draw all the uppercase characters A-Z. When drawing your uppercase characters you don’t start with ABC but with the control characters H and O. They are called control characters because they control a lot of the shapes of other characters.
4.1 — H O Control Characters
4.2 — H O Components
4.3 — E F I L T
4.4 — C G S J
4.5 — D B P R Q
4.6 — V A U W X
4.7 — Y M N K Z
4.8 — Finetuning Uppercase
4.9 — Uppercase Guidebook
4.10 — About the Fit Curve Panel Guidebook
-
Let’s draw all our lowercase characters a-z. When drawing your lowercase characters you also don’t start with abc but with the control characters n and o. They are called control characters because they control a lot of the shapes of other characters.
5.1 — n o Control Characters
5.2 — i h m l k r t
5.3 — u e c b d p q
5.4 — a f g j s
5.5 — v w x y z
5.6 — Finetuning Lowercase
-
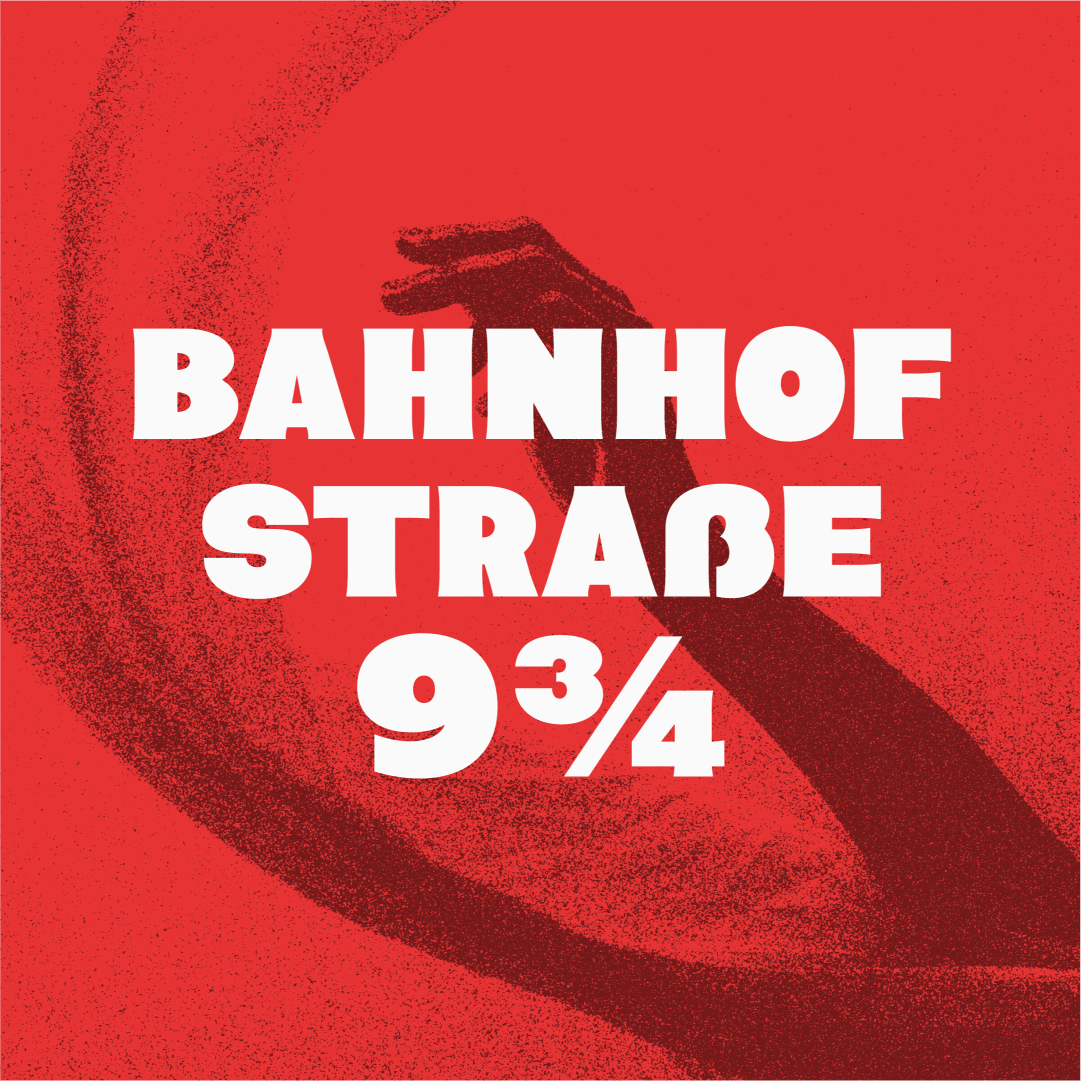
A font without accents is useful if you only type in English but as soon as you want to use it in a European language you’ll need accents and diacritics. In this module we’ll go over the process of adding accents and diacritics automatically and build them from components.
6.1 — Adding accents
6.2 — Uppercase
6.3 — Lowercase
6.4 — Accents for 'j' and 'i'
6.5 — Fine tuning
6.6 — Download Accents and Diacritics Guidebook
-
A font also needs numbers (or digits as they are called), and without punctuation it’s hard to use. In this module we’ll draw our digits, punctuation, currency symbols and symbols like @, #, %, [, {, &, etc.
7.1 — Digits
7.2 — Punctuation
7.3 — Symbols
-
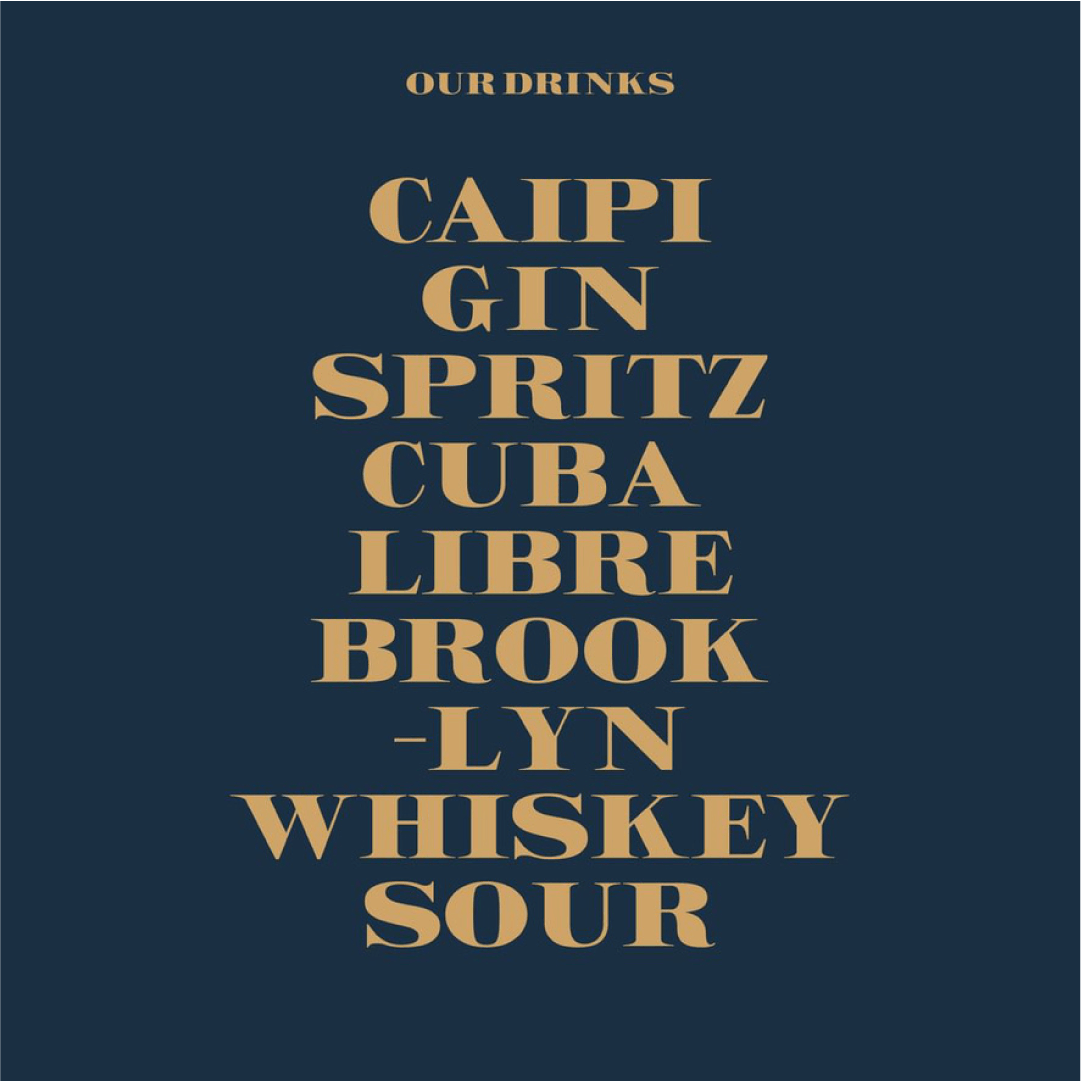
In case letters like the ‘f’ and ‘i’ overlap, you’ll need to add Ligatures that replace these letter combinations. In this module we’ll look at Standard and Discretionary Ligatures and how you can add multiple variations of a letter in Stylistic Alternatives.
8.1 — Ligatures intro
8.2 — Ligatures
8.3 — Alternatives
8.4 — Discretionary ligatures
-
Designing a font is one thing, but if the spacing and kerning is off it looks terrible. In this module we’ll set up the basics for our spacing and will guide you through kerning your font.
9.0 — Spacing & Kerning Guidebook
9.1 — H O Spacing
9.2 — Spacing with your keyboard
9.3 — Spacing Uppercase
9.4 — Spacing Lowercase
9.5 — Spacing Punctuation
9.6 — Kerning
9.7 — Correcting Spacing
-
How your font file behaves out in the wild is programmed in your Font Info. We’ll look at automatic coding of your ligatures and other OpenType features and will export your font file in different ways for web and desktop use.
10.1 — Font info
10.2 — Test install
10.3 — Font OTF and WOFF2
-
Still having issues with the Pen Tool, coding in you Font Info or adding Accents? I’ll explain all common mistakes and errors you might encounter in Glyphs.
11.1 — Common Mistakes
11.2 — Fixing Alignment
11.3 — Common Errors
By the end of the Font Making Course you'll have learned how to:
Draw perfectly smooth letters
Work with an organized system and workflow
Create Serif and Sans Serif fonts
Create multiple weights
Space and Kern your font to perfection
The Font Making Course opens 3-4 times per year for enrollment. Once you’re enrolled you can start whenever you want.
See the FAQ for more info
Bonus Module

BONUS MODULEMultiple Weights
From Extra Light to Heavy, in this comprehensive nine videos bonus module, you will learn how to effectively expand your font to multiple weights, enabling you to produce a complete and versatile font family.
Nine Video Module
Variable Fonts
Exporting Instances
Compatibility
Advanced Interpolations
Basics of Interpolation
Adding Lighter weights
Adding Bolder weights
Axes & Masters
Intro Multiple Weights

Bonus:
Ask me Anything. Help along the way
Are you feeling stuck with a particular technique or module? If so, feel free to ask me anything about the modules, directly within the context of your learning experience. I’m here to help clarify any confusion and support your understanding.
Bonus:
4 Months Glyphs Trial License
Start your font making process directly in Glyphs 3 with your 4-month extended trial license, giving you time till the end of July to explore the versatile features and tools available in this powerful design software.
Special Bonus for the First 50 Orders Only
If you’re one of the first 50 orders you’ll receive both the fully tested Font Proofing Template and the Type Specimen Template to present your typefaces.
Bonus:
Font Proofing Template
The ultimate tool for type designers to check the spacing and kerning of printed fonts. This comprehensive template has everything required for a thorough proofreading experience, making it ideal for refinement.

Bonus:
Type Specimen Template
This Type Specimen Template for Adobe InDesign is designed to showcase your single font or full typeface in beautiful landscape orientated layouts. Use them for print or as images on your website.

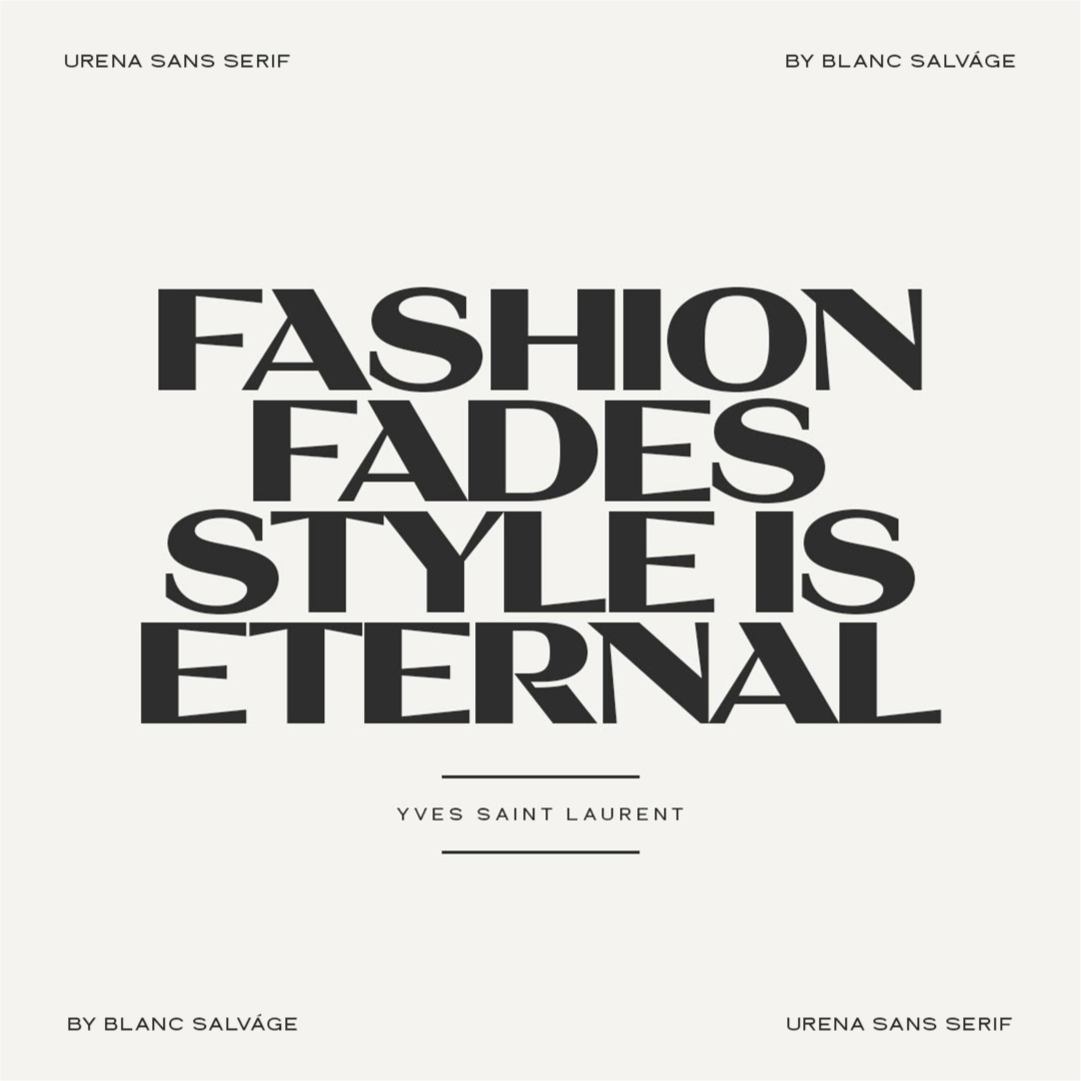
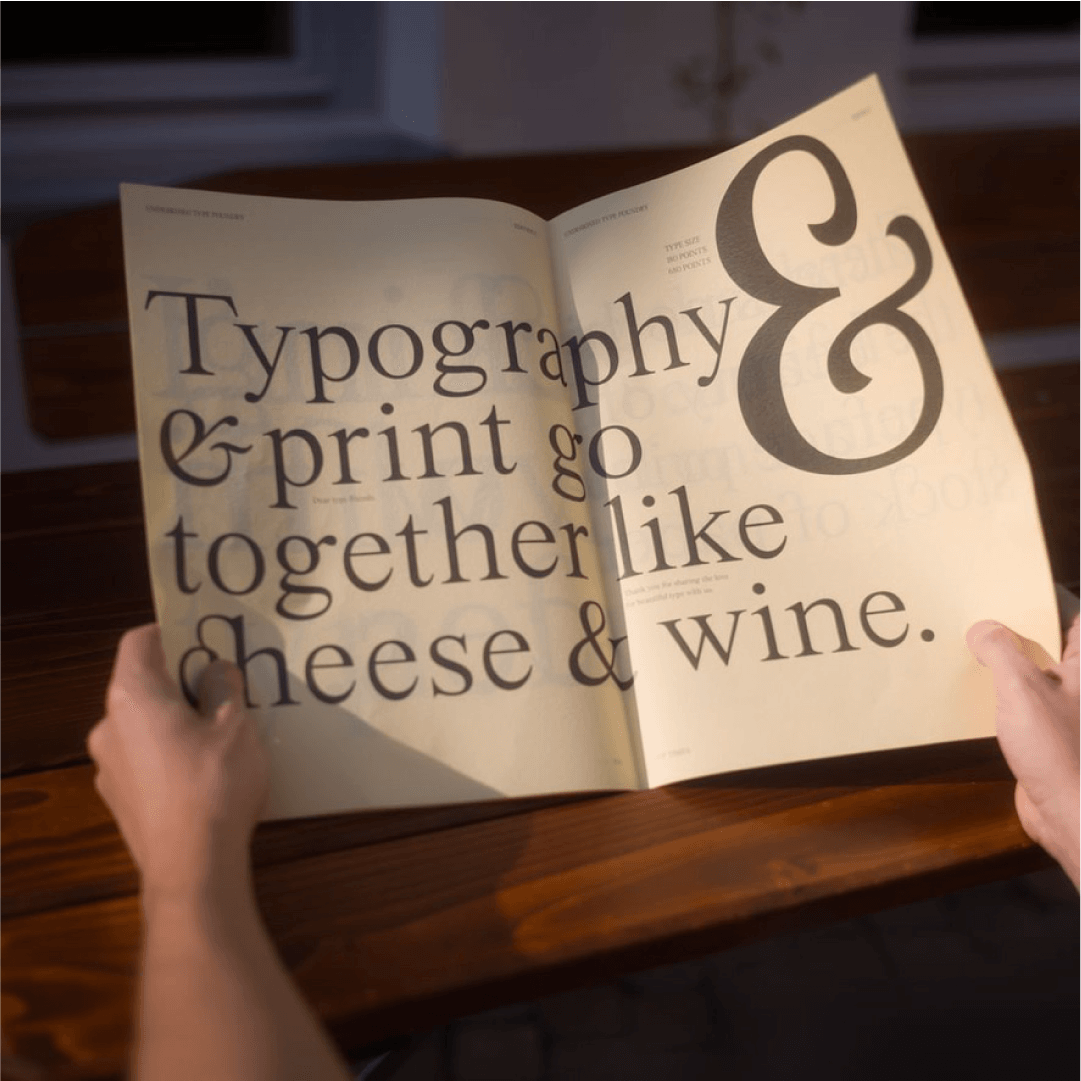
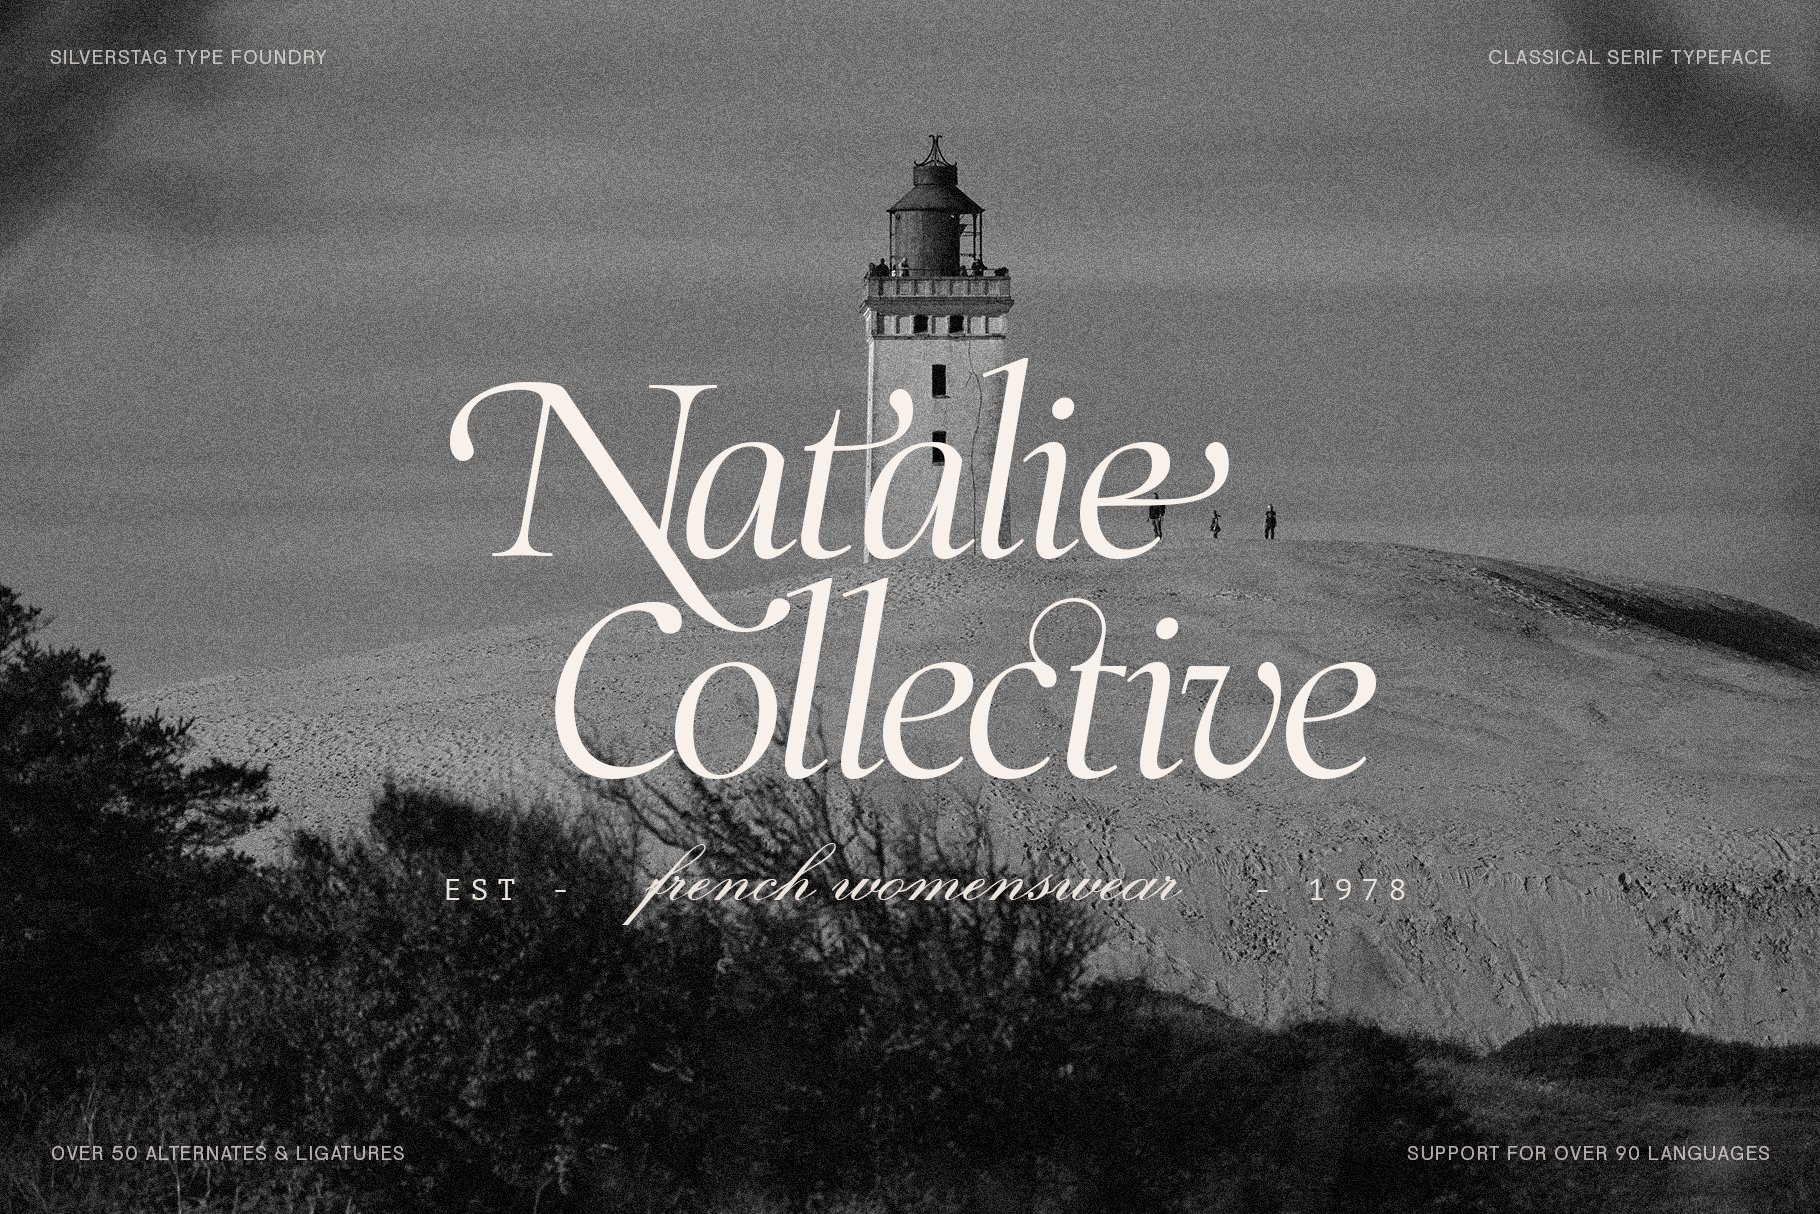
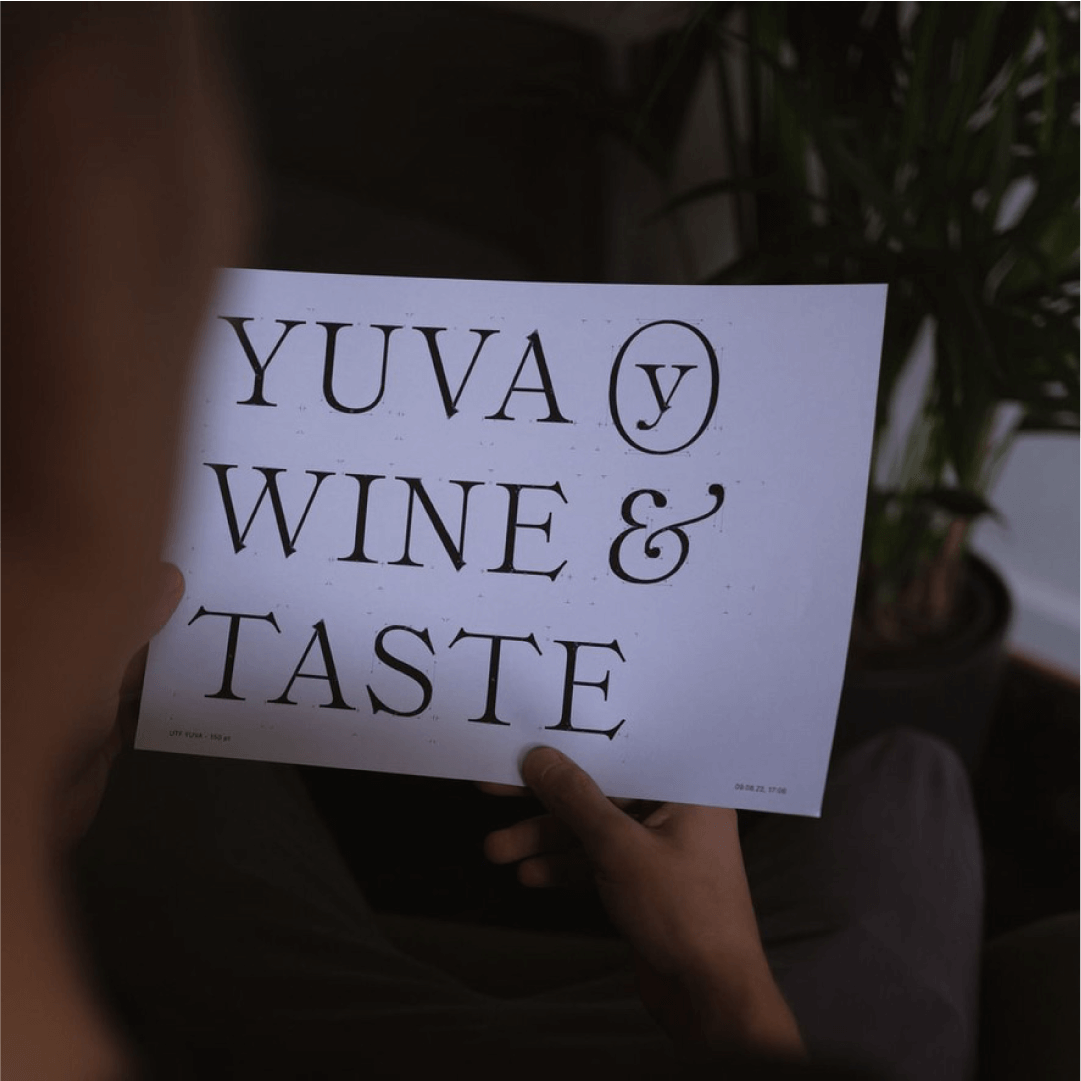
Student work
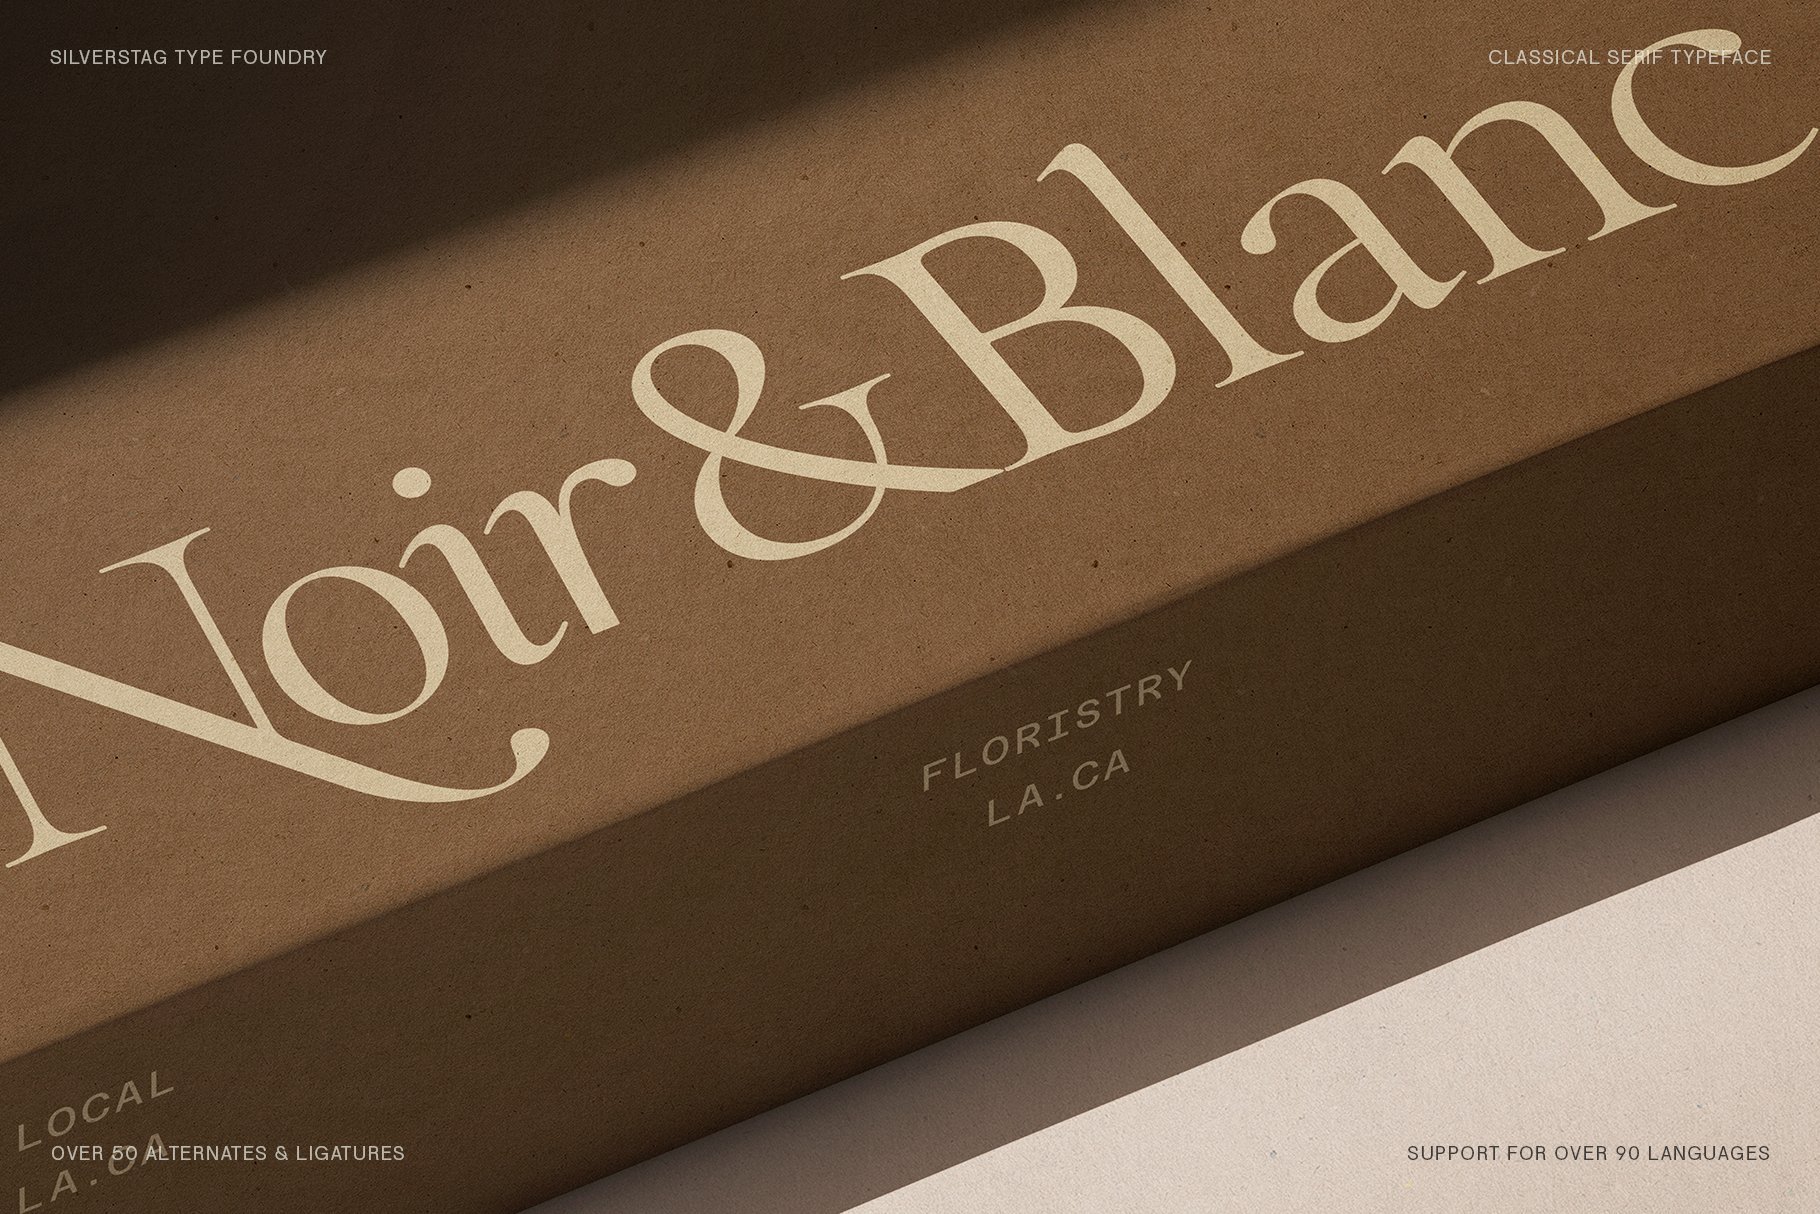
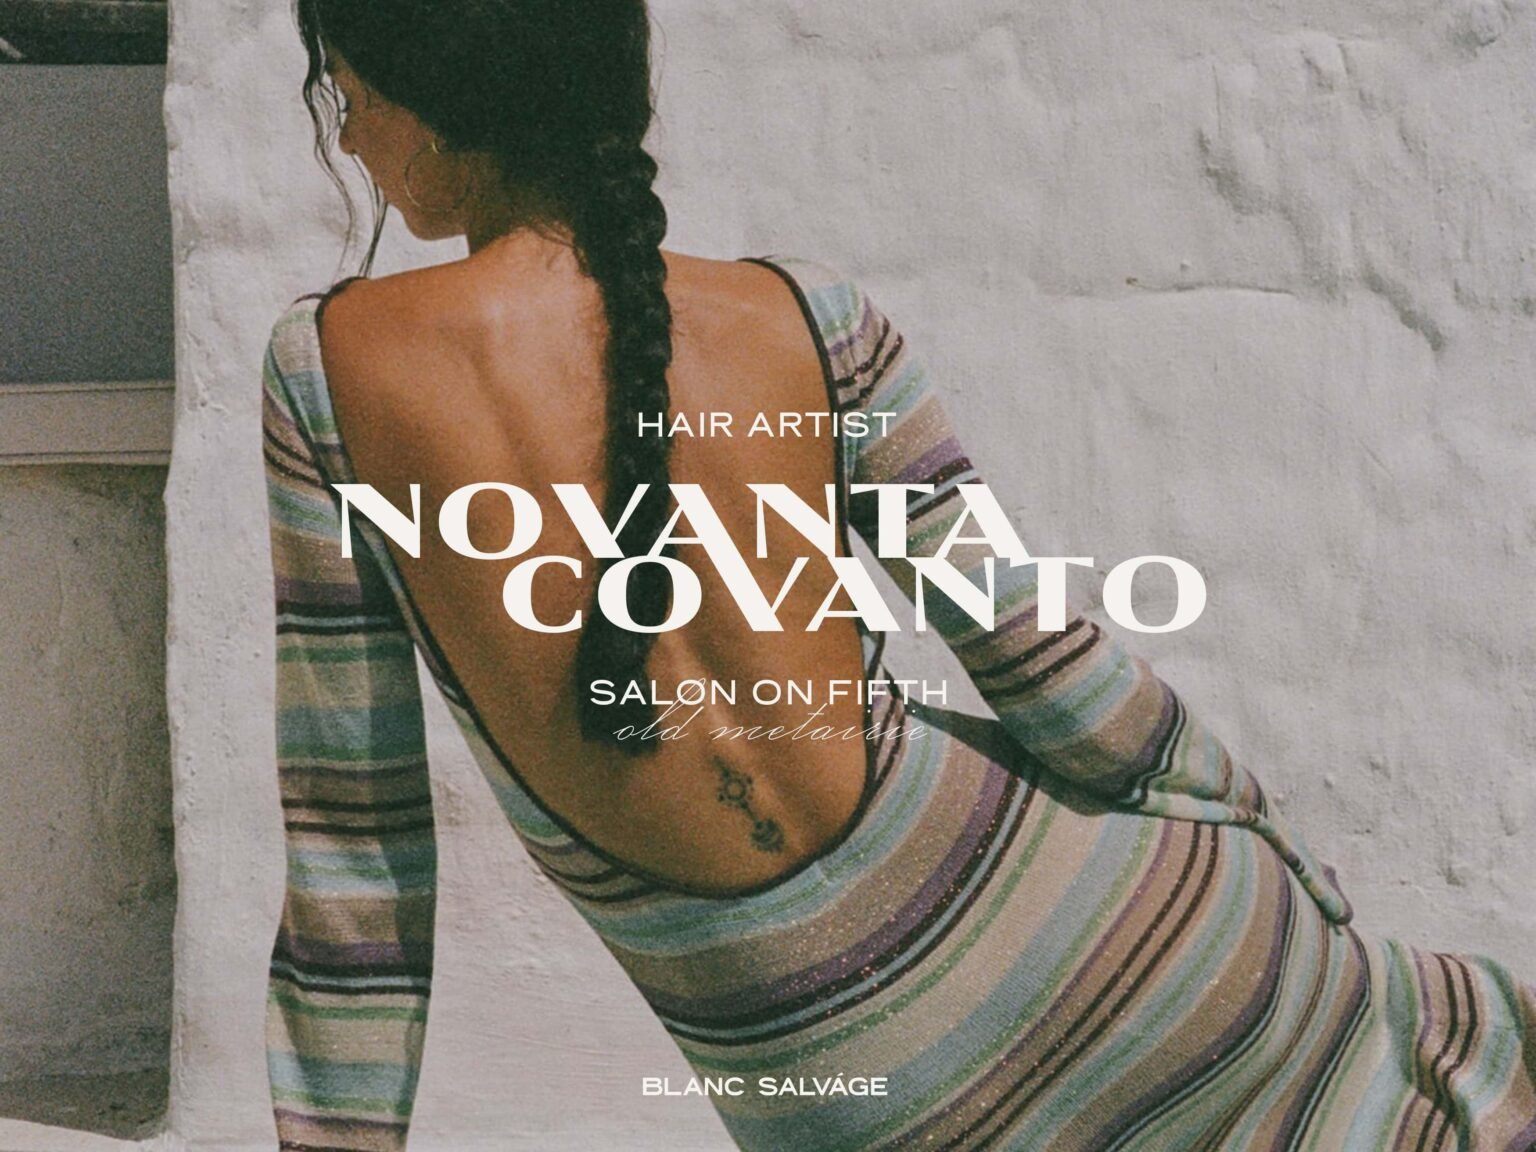
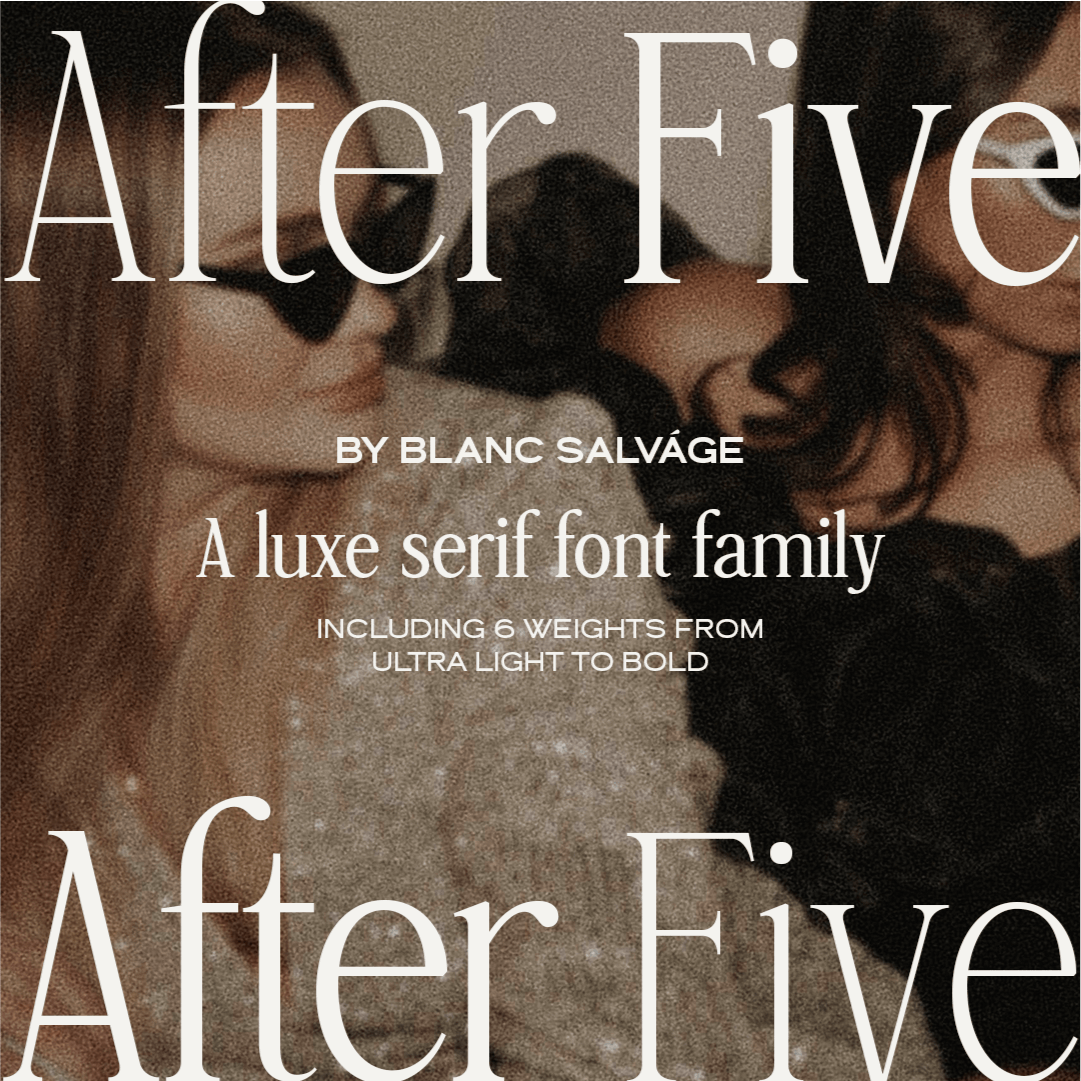
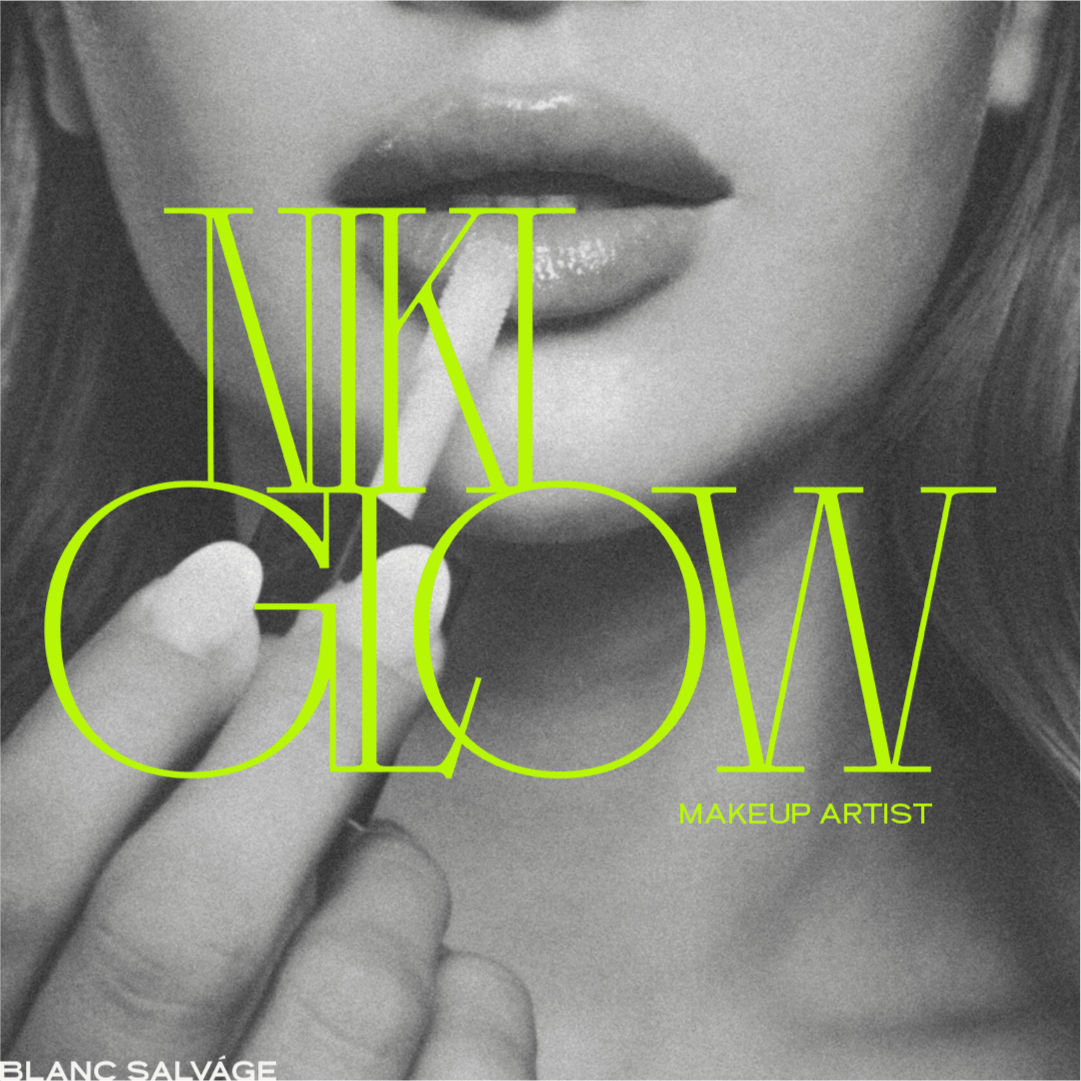
Check out the results of the course! Isn’t it truly amazing how every single font that has been created by our talented students looks completely different from one another? In this showcase, we highlight the remarkable work of Stacy Terry, Norman Dubois, SilverStag, and Michael Leonhartsberger, all of whom have made significant contributions to the art of type design.


“I absolutely love this course, and find myself returning to the lessons regular. There’s so much knowledge to glean here!”
Elliot Jay Stocks
Adobe Fonts
Questions you may have:
I’ve never made a font before, can I join?
Yes! This comprehensive course is particularly suitable for complete beginners in the fascinating field of font making. Each module is thoughtfully designed to carefully guide you through the essential steps you need to take to successfully create a font from start to finish. Whether you have prior experience or not, you will find valuable insights and practical skills throughout the program.
I’m really into lettering! Can I use my own sketches?
Absolutely! In Glyphs, you can easily place images in the background and then trace over them in separate layers. This feature is very useful for designers, and it is definitely something we are going to cover in detail as we progress through the course!
I already have some experience with making fonts, is this course for me?
Yes! This course will definitely help you speed up your design process and may even provide an opportunity for you to relearn some valuable techniques that you might have forgotten or never fully mastered.
This course is either ideally suited for designers who aspire to learn how to effectively create fonts using professional software and to enhance their overall design skills, or for those who have previously attempted to create their own fonts but are not fully satisfied with the final results they achieved.
If you’re still hesitant about joining the course, send an email to info@typedesignclass.com and we’ll give our honest opinion if you’d be the perfect candidate.

Requirements for this course
Mac and a Mouse – You’ll need a Mac computer along with a mouse for optimal navigation and workflow.
Internet Connection – A stable internet connection is required to stream course videos and access online resources.
Glyphs 3 Software – This course uses Glyphs 3, so make sure to have it installed to follow along with the lessons. A 4-Months trial license is available in the course.
You can watch the videos on your PC or laptop, or through the special Teachable app for a more flexible learning experience.


Watch a preview of Module 1.1
In this video, I will guide you through the comprehensive interface of Glyphs 3 and highlight what you can look forward to experiencing in the rest of the course.
What students say
-
![]()
"I'm so grateful to have taken this course, because without Viktor I wouldn't be where I am today."
Stacy ‘Blanc Salváge’
-
![]()
"I have learned so much from Viktor and from just this one course my whole workflow changed."
SilverStag Type Foundry
-
![]()
"I would highly recommend this course if you're serious about type, it will make you love it even more!"
Adam Vicarel
-
![]()
"If you’re a typography enthusiast but are overwhelmed by the font making software this is where you should start. This course is a perfect guide to creating your first (or next) typeface!"
Julia Zaytseva
-
![]()
"I’m super happy with the course! I’ve created a typeface before, but following your process has definitely sped up my workflow, and I’ve discovered so many new tips that make this journey a bit easier!"
Mari Carmen del Valle
-
![]()
"Besides the very detailed structured course Viktor gives invaluable feedback. This is the perfect combination."
Michael Leonhartsberger
-
![]()
"The course is full of useful knowledge and tips to learn and yet it is explained simple and easy to follow. So I was able to learn it step by step without being overwhelmed."
Saori
-
![]()
"I absolutely love this course, and find myself returning to the lessons regular. There’s so much knowledge to glean here!"
Elliot Jay Stocks


Frequently Asked Questions
-
Our courses are offered three times a year for a limited enrollment period. Each session provides a short window of opportunity to sign up and gain access to our lessons. During this time, you’ll be able to register and secure your spot in the course of your choice. Stay tuned for future enrollment dates if you miss this window! The next enrollment period will be announced in the newsletter first.
-
Yes! You are free to begin the Font Making Course at any time that suits you. However, please note that the extended trial license is only available for use until July 31, 2025. To make the most of this opportunity, we recommend starting as soon as possible so you have sufficient time to explore all the features and benefits the course offers.
-
You’ll get full access to all 65+ videos, plus all the guidebooks and access to the community forum if you opt for this. No need to wait for new content to appear, you can dive right in!
-
Yes! With the online Font Making Course you can learn at your own pace, in your own time, anywhere in the world. Stuck with a technique? Simply scroll back in time and start over.
-
Absolutely! This course is designed for beginners and will guide you through every step of the font-making process. No prior experience is required—I will teach you everything you need to know to create your own professional-quality font from scratch. By the end of the course, you'll have the skills and confidence to design and develop fonts successfully.
-
Yes, this course specifically focuses on designing fonts for Western European Latin languages. This includes English and covers essential characters such as uppercase and lowercase letters, punctuation marks, and diacritics. However, we do not cover the creation of scripts such as Arabic, Cyrillic, or Devanagari. If your goal is to design a Latin-based typeface, this course will provide you with the necessary skills and knowledge to do so.
-
Yes! In the Multiple Weights module, you’ll learn the fundamentals of creating a font with multiple weights, which you can then export as a variable font. This will give you a solid foundation for working with variable type design. If you're specifically interested in learning how to create italics, we recommend taking the True Italics Course for a more in-depth exploration.
-
The Font Making Course is compatible with both Glyphs Mini and Glyphs 3, and most of the content is suitable for either version. However, please note that certain modules, including those on plugins, multiple weights, variable fonts, and line segments, are only available for Glyphs 3. If you're interested in exploring these advanced features, we recommend using Glyphs 3.
-
Let’s be honest, ‘life long access’ is not something you can really claim. You’ll have access to the course material as long as it is relevant to the Glyphs software. Which is a long long time.
-
Yes! We’ve added the option to choose between English and Spanish subtitles for the course. However, please note that the questions you can ask below the videos are in English only.
-
No, the videos cannot be downloaded. This is to protect the content and ensure that the course material is only accessible to enrolled students. By streaming the videos online, we can maintain the quality and security of the content. You will have full access to the course for a minimum of 5 years through Teachable, allowing you to revisit the material and learn at your own pace within that time frame.
-
If the course isn’t what you expected, we do offer a full refund within the first 7 days, as long as you’ve accessed less than 20% of the course.
After that period, or if you’ve accessed more than 20% of the content, we’re unable to offer a refund.
We encourage you to carefully review the course details before enrolling, and if you have any questions or concerns beforehand, feel free to reach out to us!
Full refund within 7 days if less than 20% of the course has been accessed
No refund after 7 days or if more than 20% of the course has been accessed
Please read the full Refund and Cancellation Policy
Any additional questions? Feel free to email us at info@typedesignclass.com

Kelsey Kleiner
“The skills I’ve learned have not only helped me in my type design journey but have also allowed me to look at typography differently for my branding clients and bring in some of those skills to create custom logotypes. Which brings more value to my packages and makes it easier for my clients to trademark their brand logos.”
Hi! My name is
Viktor Baltus


With over two decades of experience in crafting custom typefaces and lettering, my journey into typography began as a graphic design student in Amsterdam. There, I discovered a fascination with the way fonts could seamlessly blend beauty and functionality to elevate a design. Since then, I’ve had the privilege of collaborating with leading agencies and brands, creating typefaces used in everything from logos to editorial layouts.
In this Font Making Course, I’ll guide you through every stage of designing your own typeface. Whether you’re a beginner in font creation or looking to enhance your skills, this course provides the tools and techniques to bring your ideas to life.
By the end of the course, you’ll have a fully developed typeface that you’ve designed from scratch—ready to showcase in your portfolio or incorporate into your projects. My aim is to make font design both approachable and enjoyable, while equipping you with the confidence to create professional-quality typefaces.
ONLINE VIDEO COURSEJoin the Font Making Course
In this online video course that you can take at your own pace, you’ll be given a complete roadmap with all the tools, tips, and tricks you’ll need to create your own multiple weight typefaces.
65+ Step-by-step high quality videos
At your own pace, in your own time
Helpful guidebooks
Help along the way